
 -50%
Lighting & Studio
Samsung Galaxy S21 Ultra OLED Screen Replacement
Original price was: $270.00.$135.00Current price is: $135.00.
OSD Menu Operation:
1. Touch the screen for 5 seconds to activate the OSD menu.
2. Slide your finger on the screen to page up or down.
3. Touch the triangle icon to adjust the items.
What is included;
What’s not included;
– Tape to prevent possible shorts. We recommend Kapton tape.
– GBC motherboard/donor console
Notes;
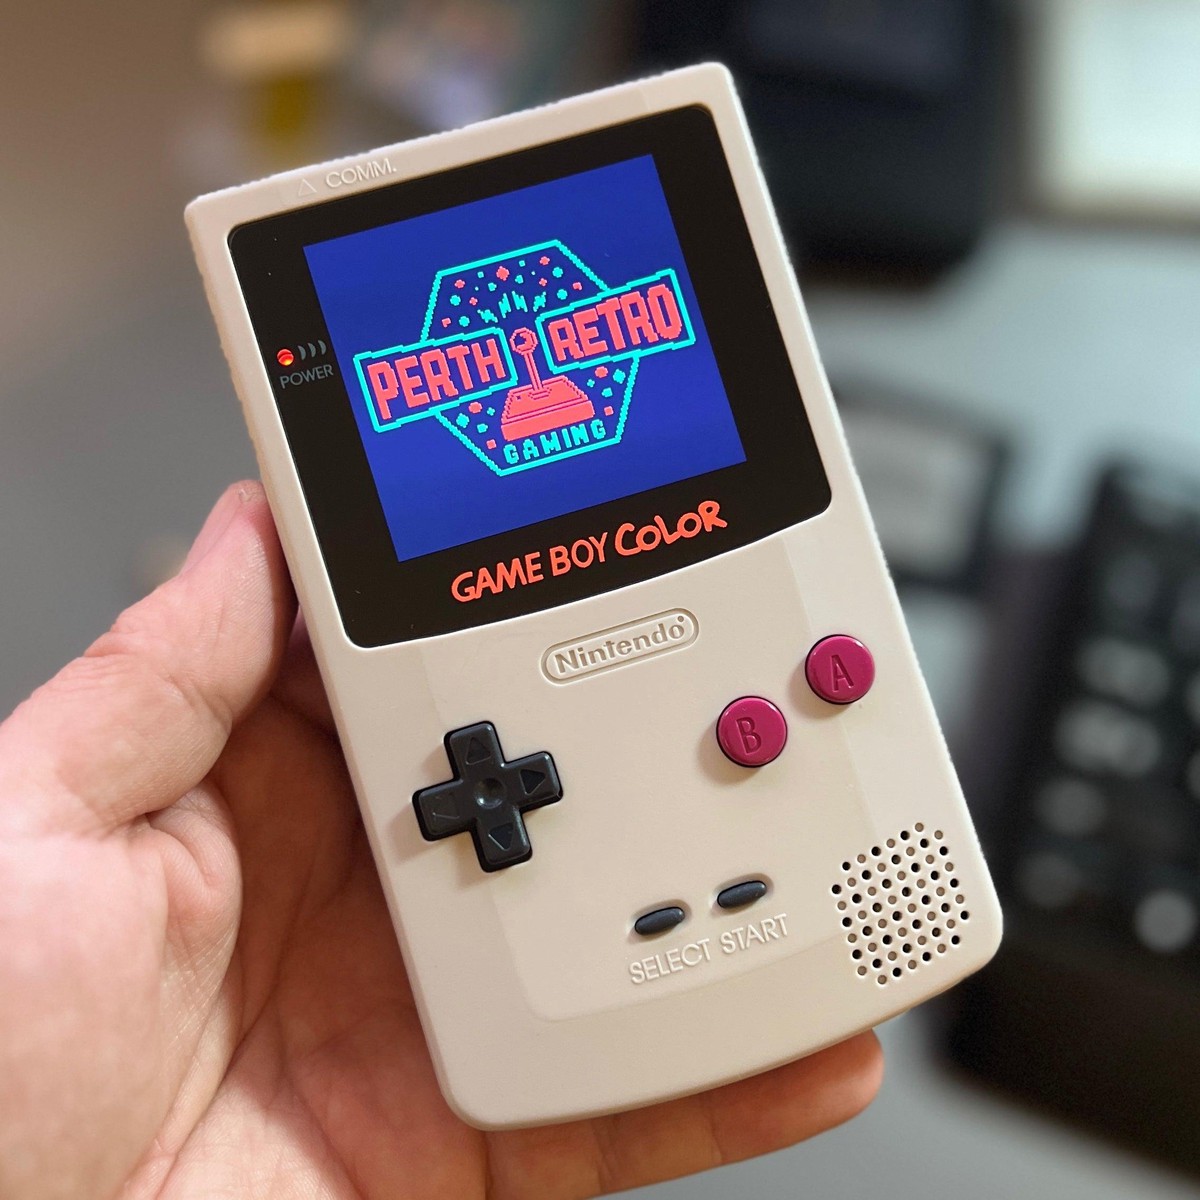
1. Note: There is LOGO on the glass screen lens. And the logo can be changed to different color in the OSD menu.
2. Shell modification to fit the laminated screen kit is not recommended. Instead you can purchase a FunnyPlaying GBC shell which these screen kits will fit right into.
3. A lens is not required as one is laminated to the front of the screen.
4. Please test your screen kit for faults before installation. Any issues are to be reported before installing inside a shell or adhering to gasket. A photo or video will be required for any warranty claims. Check out this easy to follow article on How To Test the GBC Screen Before Installation.
5. Note that once the screen is stuck down it wi
-50%  -50%
 -50%
 -50%
Reviews
There are no reviews yet.